With a split system air conditioner, you can keep your house cool and pleasant in the warmer months. In addition to being quieter, simpler to set up, and more energy-efficient, window air conditioners are also less expensive. For air conditioner installation, you need to put the cooling unit inside and the compressor and condensation unit outside, and then run pipes and an electrical wire between them.
The installation of a split system air conditioner may be done by anybody who knows plumbing and electrical work and is willing to put in the time and effort. Although each air conditioner is unique to its maker, the air conditioning service is the same.
1. Turn off the electricity supply
Please remember to switch off the electricity to your air conditioner before you begin cleaning it. It is dangerous to clean an air conditioning system while it is running. Thus it should be avoided at all costs. Locate the service panel on the external condenser or compressor to turn off the electricity. There’s usually a box for turning things off near the machine.
2. The mounting plate should be attached to the wall inside
Hold the indoor unit’s mounting plate against the wall. The horizontal and vertical levels should be checked using a group. Mark the positions of the screw holes with a pencil, then remove the plate and drill a hole in the wall for each screw. Put plastic anchors in each hole and screw the plate with tapping screws to secure the vessel.
3. AC Condenser Coils need to be cleaned
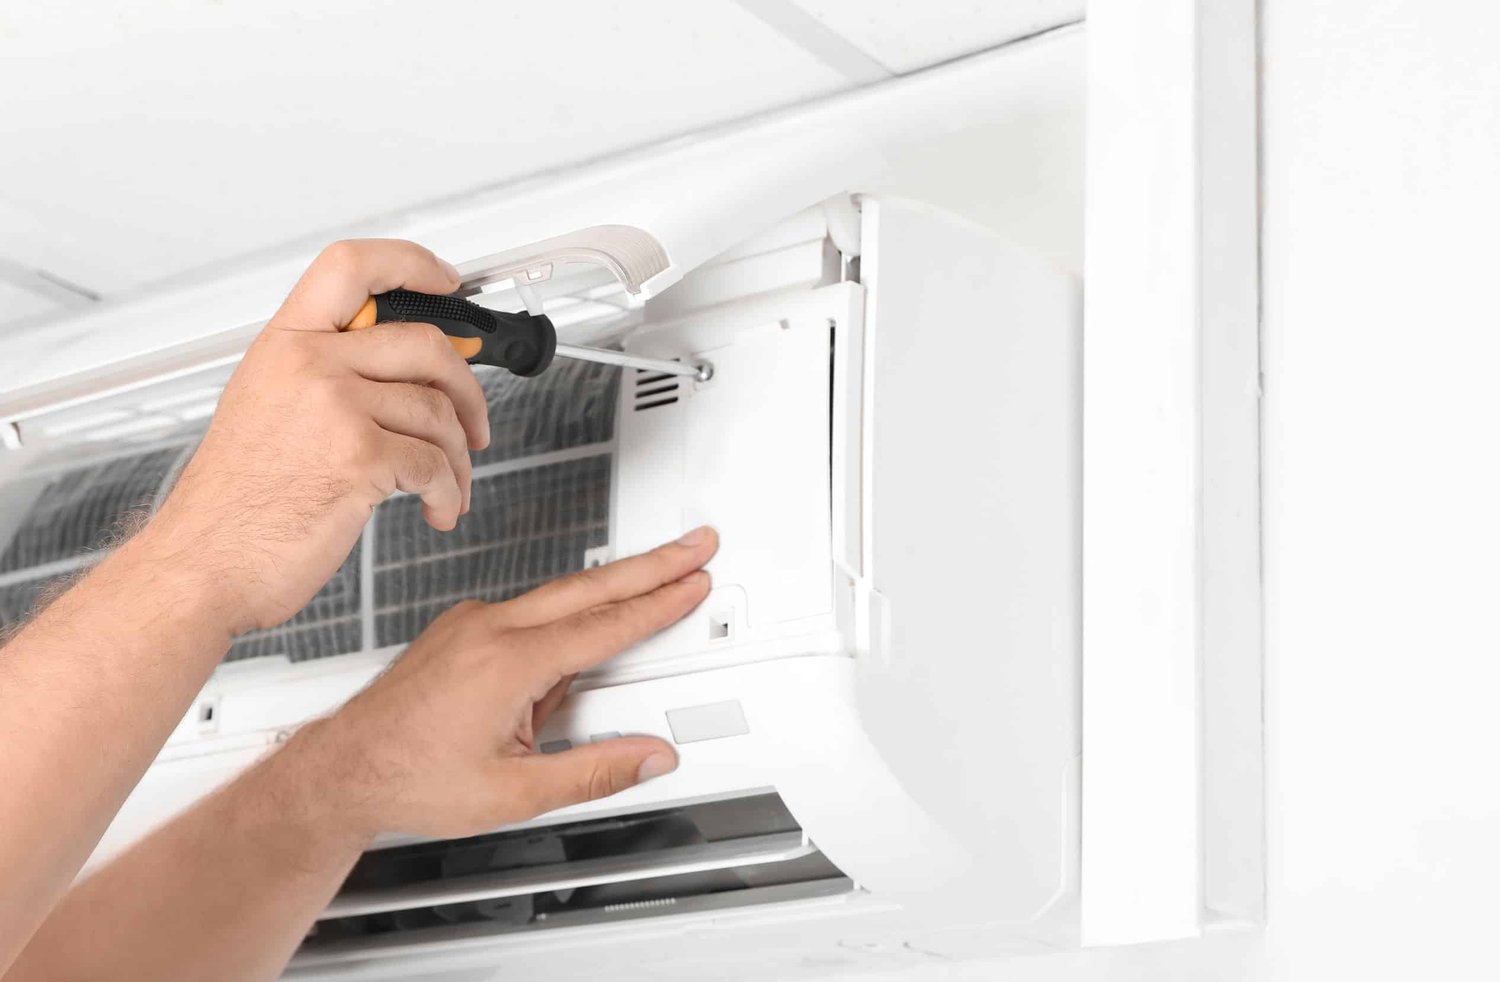
Remove the condenser unit’s side and top panels, commonly known as the grilles, and clean the condenser coils. Depending on the fastener, either a screwdriver or a nut driver may be used. Remove the side panels by unscrewing the screws and lifting them out of the device. Avoid yanking on the fan’s wires as you remove the top, which may be hefty.
Using a soft brush or a installation refrigerator coil brush, clean the exterior of the air conditioner AC coils using this method. When it comes to cleaning the coils, extreme caution should be used. Keep the delicate fins and coils free of kinks. With a “fin comb,” you can straighten the fins if they’ve been bent. Vacuum the AC condenser coils inside and out once you’ve cleaned the outside. You may use a professional air conditioning service cleaner from the inside to remove stubborn dirt and debris from the condenser coils.
4. Connect the device to the pipes and wires that run through the wall opening
Use electrical tape to join the supplied copper pipes, power cable, and drain pipe. Place the drainpipe at the bottom to guarantee that water may flow freely. Pipes and cables should be inserted via a hole in the wall and then attached to the indoor unit as instructed in the instruction manual.
● Adding additional insulation isn’t necessary since each line is pre-insulated.
● To guarantee that the unit functions properly, reduce the number of bends in the pipes and cables.
● Check to see that the drainage pipe is set up so that water may flow to the proper location. Your kit’s instruction booklet provides further information.
Final Thoughts!
Connect the electricity to the condenser once you’ve cleaned the central air conditioner. Turning off the thermostat in your house is the first step. Turn on the main panel’s power and the disconnect box’s electricity. Before turning on your air conditioning, make sure you have your thermostat set to the cooling setting.
You may save a lot of money in the long-term by adequately maintaining your air conditioner. Cover your refrigerated air conditioning with plastic and secure it with a rope or bungee cords in the autumn and winter to go one step further. A professional technician should be contacted as soon as possible if your air conditioner is still not functioning correctly after cleaning it out thoroughly.